Design
I wanted to build a bunk-bed on my own, as I did not have found one that matched my need. (Actually I just wanted to have a simple, but robust structure.)

At the time of the design, I was not completely sure at what height the upper bed should be, so I’ve came up with a design, where I can decide these parameters later on: The two bed frames are individual object, that are attached to the legs.
Download SketchUp design plans: BunkBedFinal
You will need to change this design according to the lumber sizes you can buy, or even by the thickness of the mattresses you want to fit in them.
Also note, that I have left the frame to tight for the mattress, so you should not do the same mistake.
Building steps
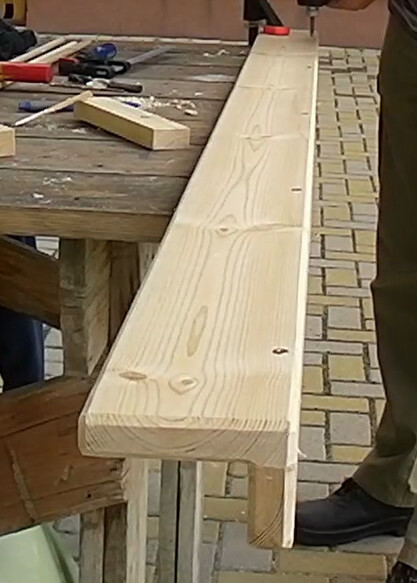
This time I’ve bought all the parts as new, and pre-cut in the local lumber store. So I only needed to make final adjustments, like rounding all the edges with the router.
First I have made the four legs. Each of them were made by joining the two lumber with glue. I join it with screws while the glue sets, and one day later, I have removed the screws, because I want to join it with dowels instead.
When I have prepared the sides of the frame, and the side pieces, I took care to leave out the ends, where two peaces will meet.
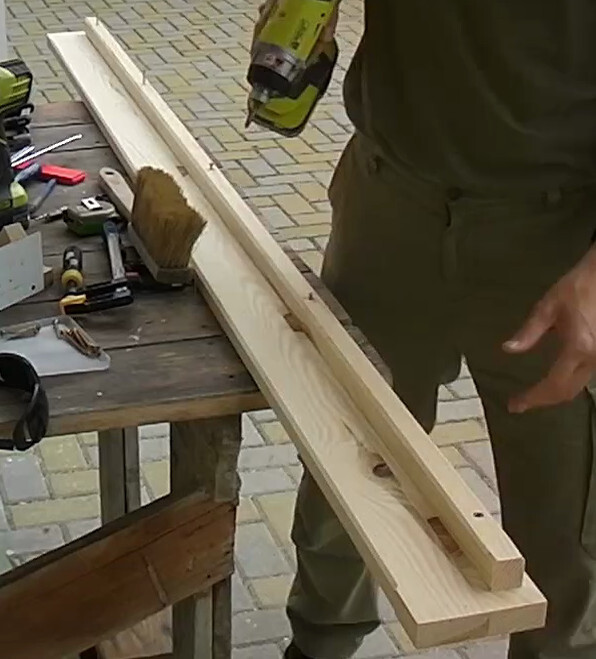
A bar was glued and screwed to the side pieces to hold the slats. The corners of the bed frame are joined with two dowels and two screws. I’ve glued the dowels only into one piece, so that the bed can be disassembled some times.
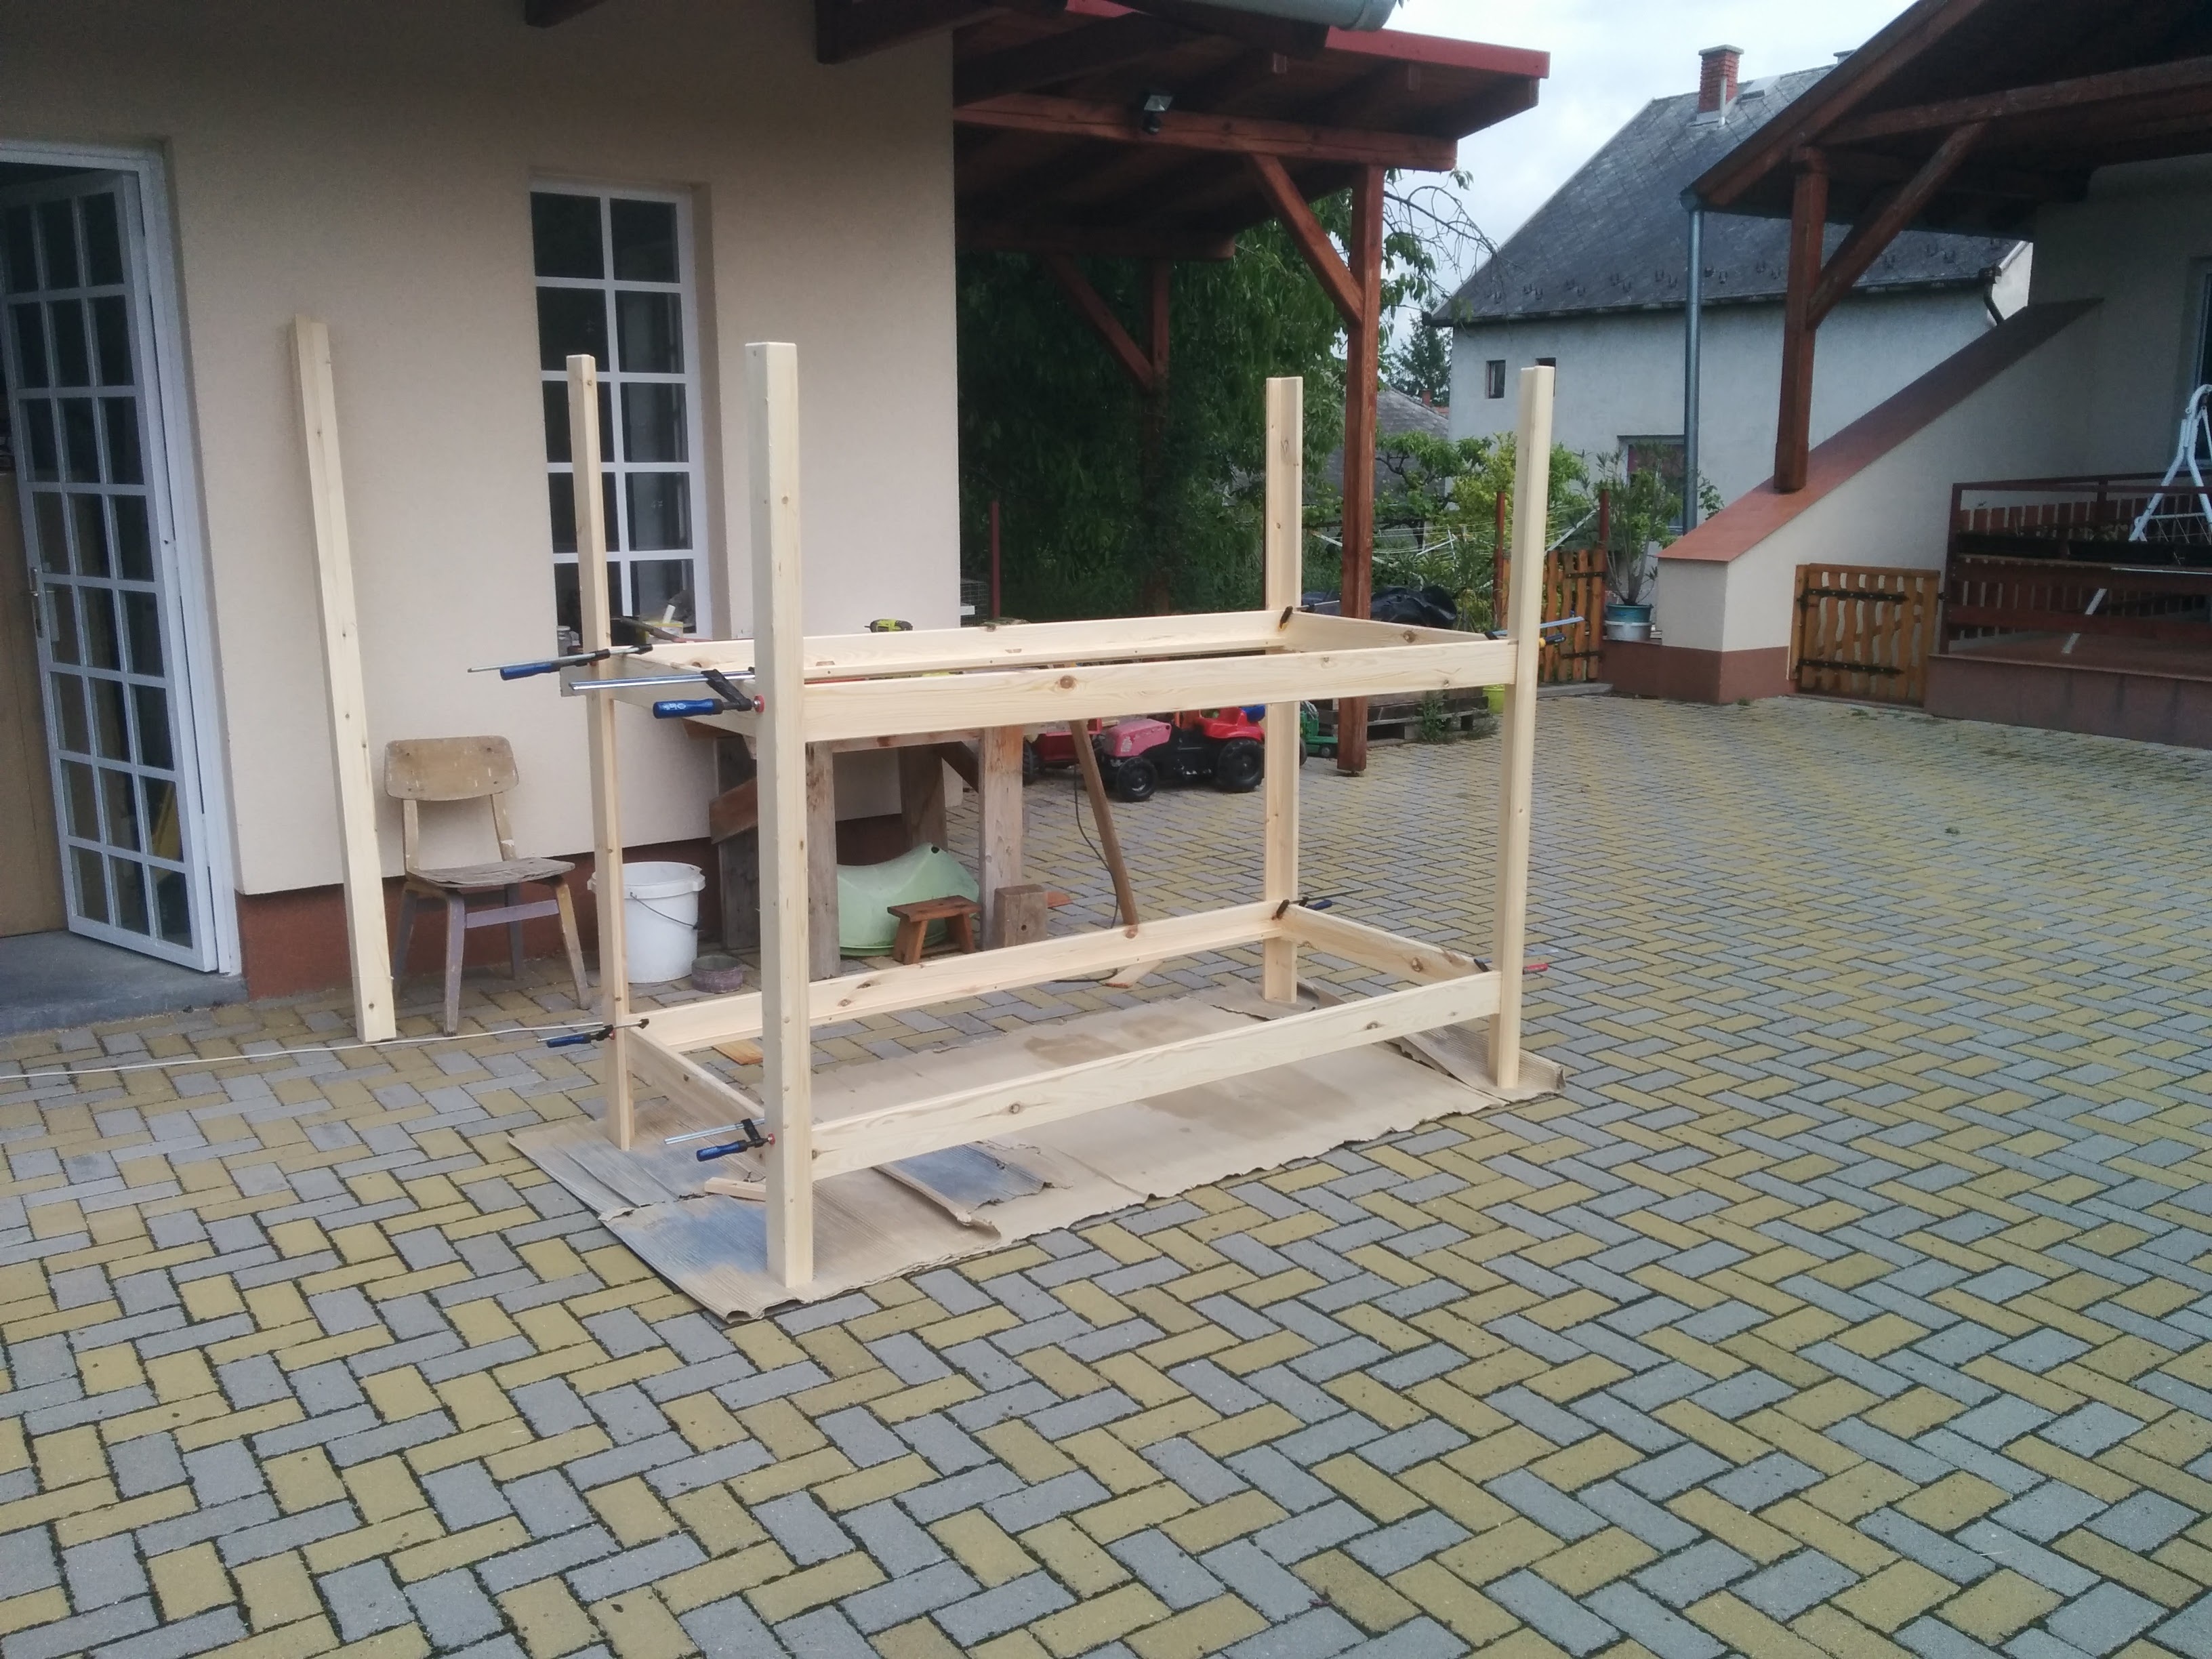
I’ve made a test assembly to finalize the frame and fence positions and pre-drill every holes before painting.
So only the leather parts are glued together, and those parts were covered with masking tape, where I will apply glue.
I have added some felt under the legs.
The first piece of the slats was fit to the frame to give a better diagonal stability.
The rest of the slats were nailed in place just to prevent them moving around.