It seams, that it is very popular now to build portable bluetooth boomboxes. I already have made an active speaker set, but it does not provide bluetooth connection, and while it was designed to portable, it does not contains battery.
So now I wanted to have a more portable one with bluetooth support.
The TDA7492P amp + BT module seams to be a good candidate for the project.
Introduction
The box has this retro look, with a nice wood finish. It contains the BT amplifier module, but does not contains any speakers, just speaker terminals.
I can power it with a (rechargeable) cordless-drill battery, or from an external power supply. There is an AUX input as well.
The front face is 3D-printed from translucent material, so the indicator lights are visible.
Design consideration
Battery
I have seen people are using all kind of battery solutions for their portable boomboxes, but I did not liked any of them. This module can easily pick up some 10 watts, so a small LiPo charger module is not capable for the job. Bigger lithium batteries costs way too much, and requires a special charger unit, that I do not own. The best would be a lead-acid battery, but they are too heavy.
So I looked around, and realized, that I already have a charger: a charger for my cordless drill. And the best in it, this type of batteries are compatible with a wide range of tools, and even show the charging level.
So for the portable operation a wireless-drill battery will be used.
Speakers
As I normally use external speakers, I decided not to include the speakers this time in the case. I just provided mounting terminals for external speakers.
Anyways, if I want a good portable BT boombox it would be probably the best idea to buy a good quality product.
Retro look or modern design
Overall I very much like the wood look of the retro radios, amplifiers. But the battery I’m about to use with has a very futuristic design. So, I wanted to combine the both: have some retro shape, and paint it gray, black and silver. But at the very last moment, I just couldn’t let the nice wood grain covered with paint. So it does not look well with the battery, but I guess most of the times it will be seen standalone.
I have seen some radios with vents on the side, so to add a bit of futuristic look, I have added decor-peaces to the sides.
Design
I have needed a snap-on connector for my battery, and fortunately I have found a 3D object for this already prepared, so really all I needed to do is to print it out.
Snap-on for Ryobi One+ batteries: https://www.thingiverse.com/thing:985646
I made the arrangement around this base.
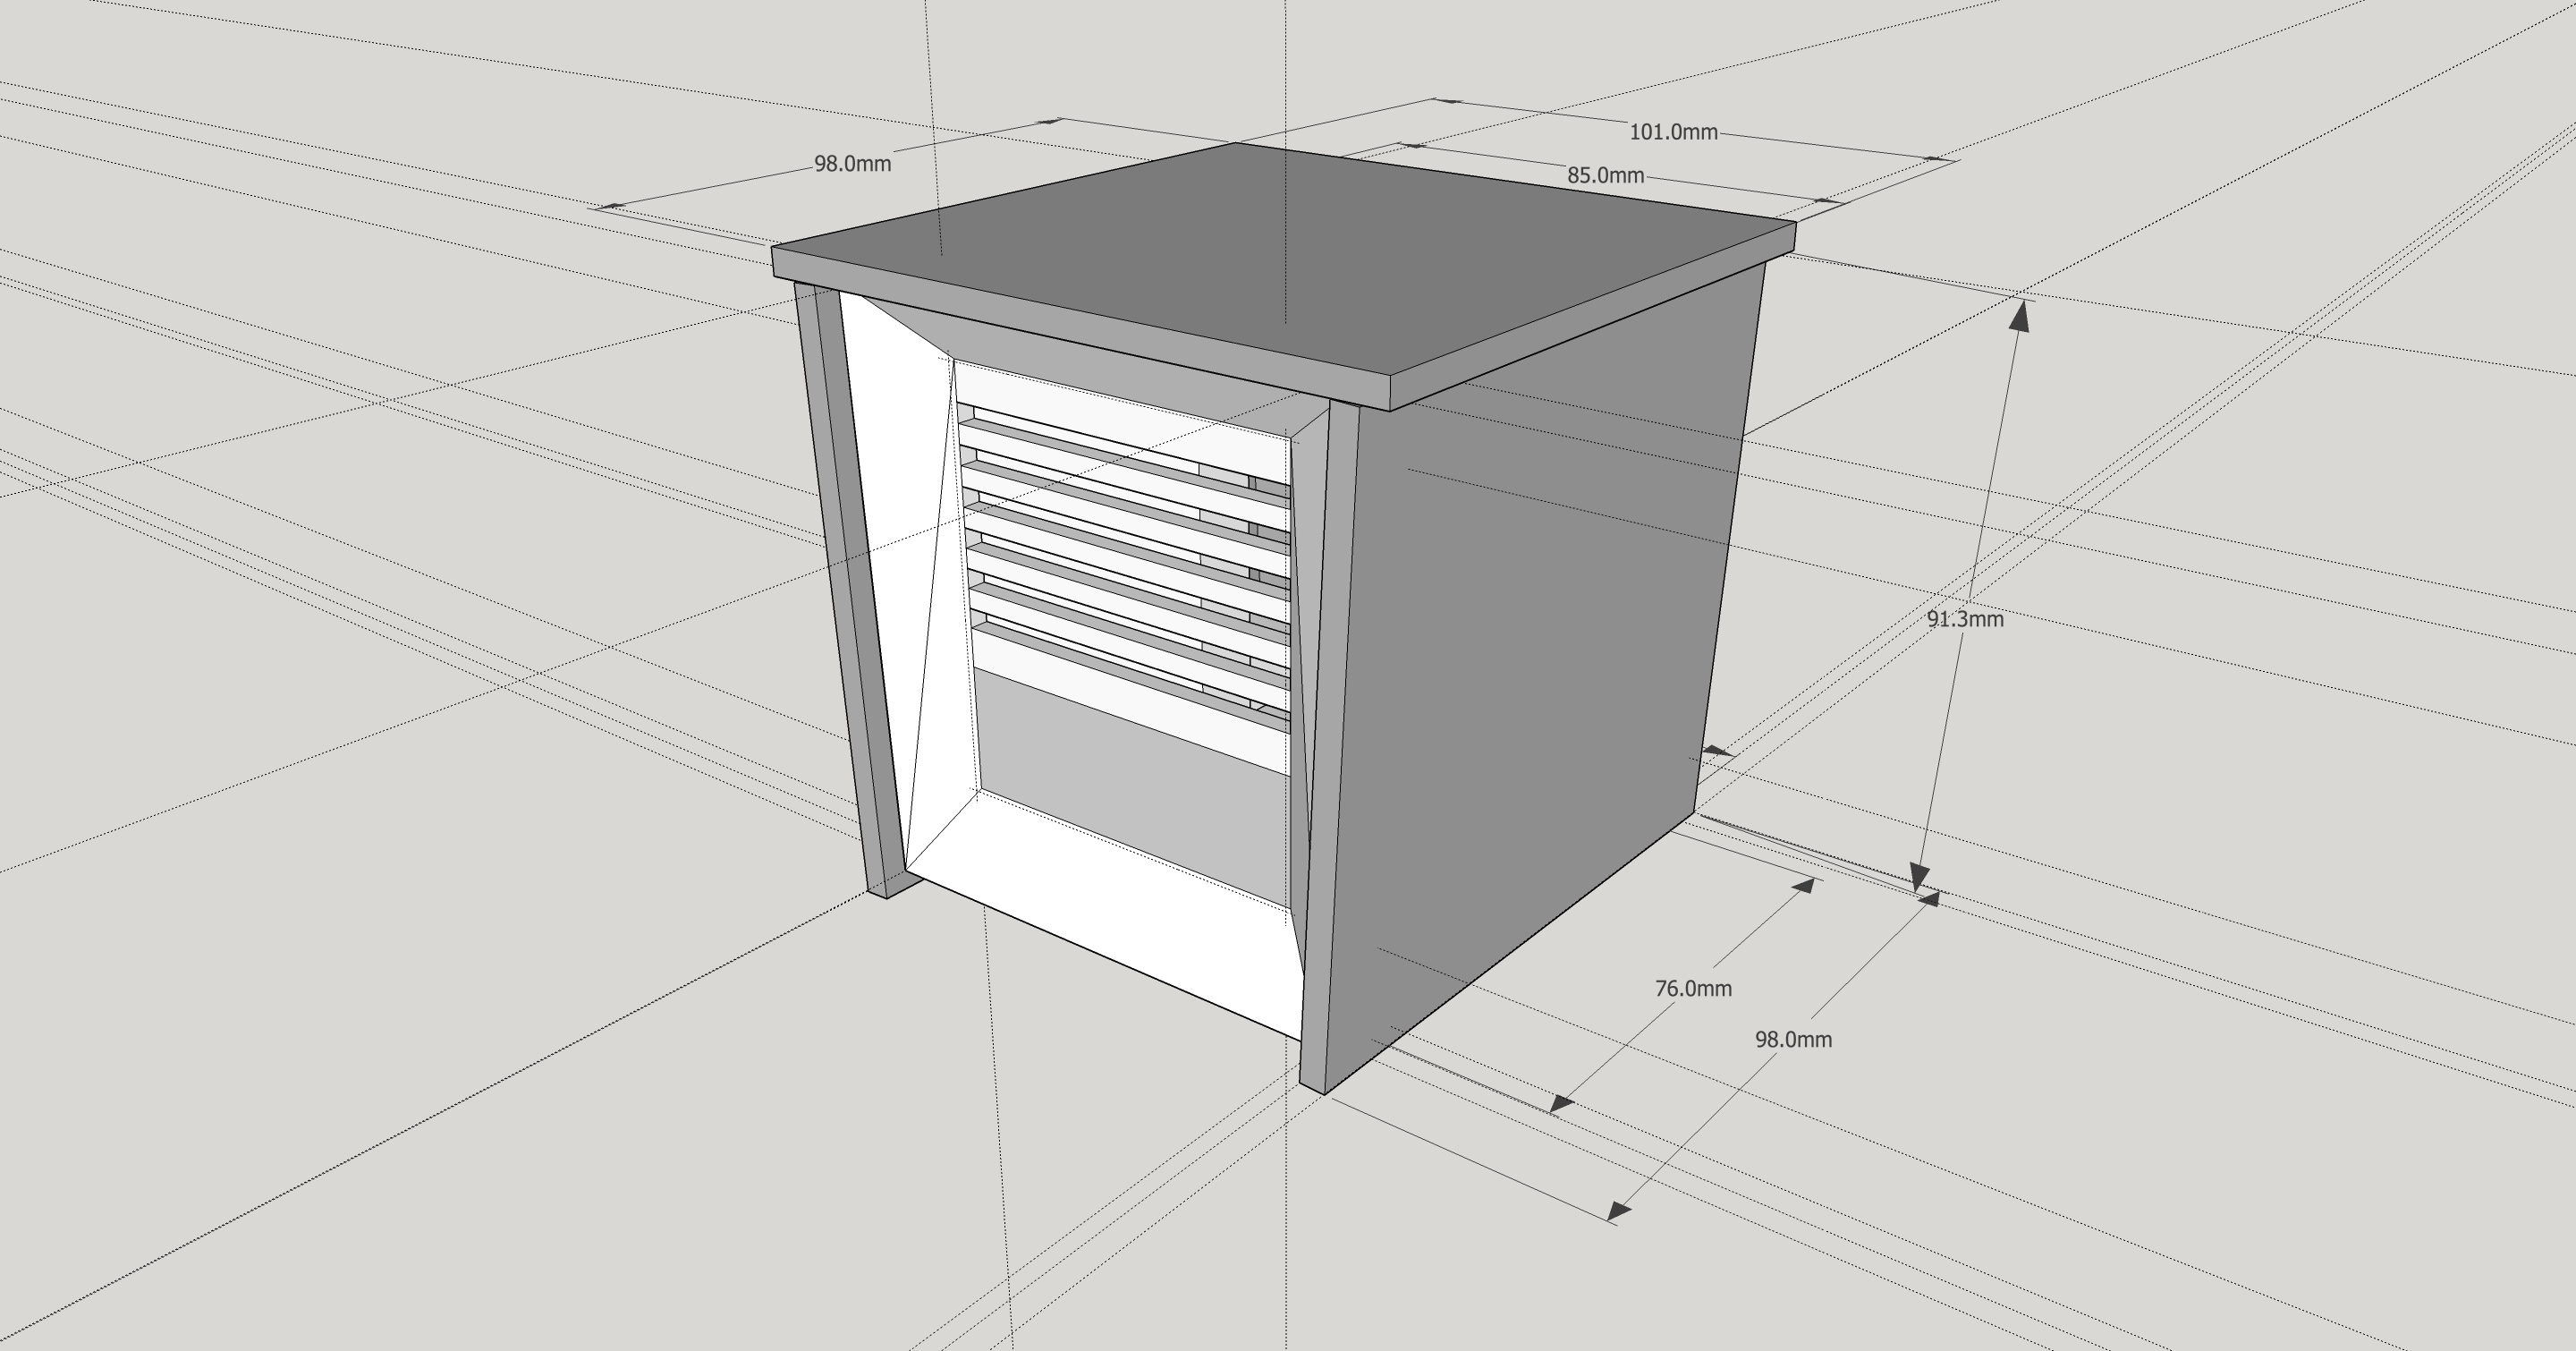
While designing the shape of the case, I was inspired by a design, where it operates with flat surfaces.
Download the 3D design and the plans from: http://www.thingiverse.com/thing:2267390
Building steps
Body
I always like to try out new techniques, so I thought it is worth to highlight some building steps.
So I had all my designed faces cut, all the parts 3D-printed, I can begin the assembly.
First cut the holes for the decor pieces and the auxiliary input.
Then glued the holding pieces to the sides.
I needed to get rid of the speaker connectors to spare place, so I also desoldered the DC plug.
To attach the electronics to the front, first I have screwed all the legs to the board, then used some drops of ABS dissolved in acetone.
This beveled design was a bit tricky to assemble. First I taped all sides to its place, then mount the battery-piece to the bottom side.
At this point I have removed the back side, to glue pieces on the top, that will match with the sides. I really wanted to avoid to have visible screws on the sides, but I couldn’t found a way for that.
Then the back was mounted.
Actually all holes are was just pre-drilled at this point. When applied the final sized drill-bit, I was forcing the hole to be a bit towards from the edges, to have a better seal where two sides will meet.
Now it was time to attach the power switch. Again I have used lots of dissolved ABS to form a nest for the switch, and then glue it in it’s place.
I nearly forgot to make hole for the DC connector.
And this was the point where I decided not to paint everything to gray, but the wood was already covered with a coat of transparent stain. So I needed to add several coats of colored stain for the final look. First I used brushes, but then I switched to a piece of sponge, and that made a much more natural look.
Then I have spray-painted all the areas, where I wanted to have a silver finish. All the edges, the decorative pieces, and the grills. At the front I had an unwanted spot, but I could remove it with alcohol, as the paint was not completely dry.
I have glued a black material to the back side of the grills.
Electronics
For the battery terminals I have used some copper strips (bought in a craft-store). A foam piece will apply pressure to the contacts.
And started to wiring up the things. The ground terminal of the three legged DC socket will connects to the “third” leg, when no plug is inserted.
As a final touch, I have labeled the ports.

